Research/Pre-design
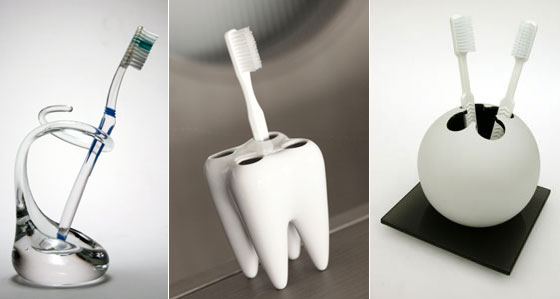
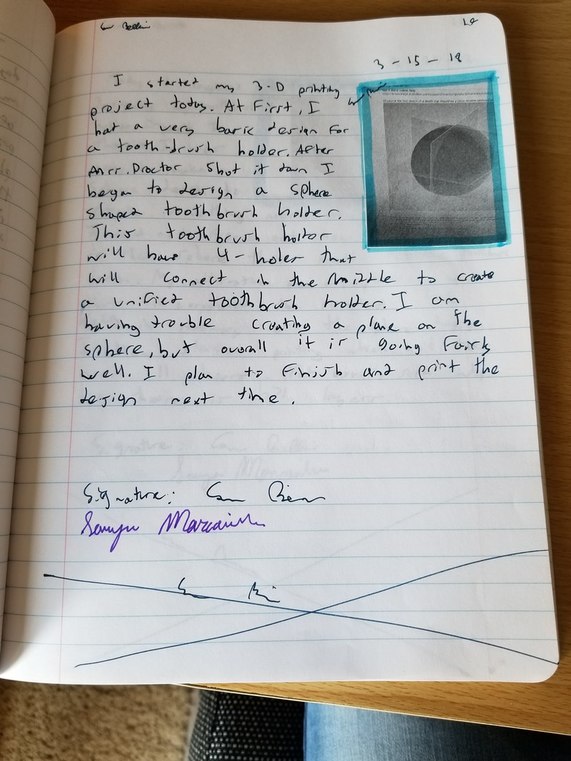
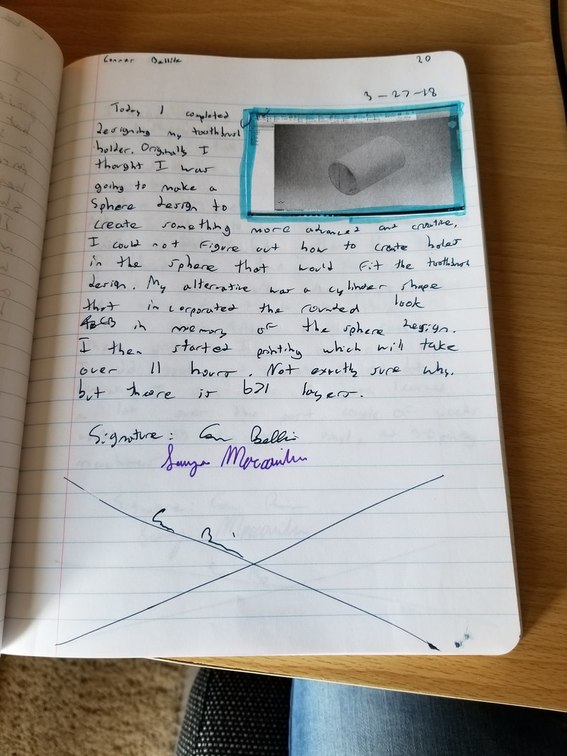
Originally, I wanted to create a toothbrush holder/stand that was a sphere shape that would diagonally hold each toothbrush in a stylish fashion. On paper this seemed like the perfect idea as it would be efficient and easy to design. But, when I started to design the spherical-shaped toothbrush holder on inventor I soon found out that there was going to be some balance issues that would come along with the design of this holder. From there I restarted from scratch. My new design was a simple, yet efficient and good looking design. I decided to have a modern shaped holder that was split into two which would hold 4 tooth brushes. The design and print of this holder went extremely smooth and I couldn't be happier with how it turned out.
hOW IT'S MADE...
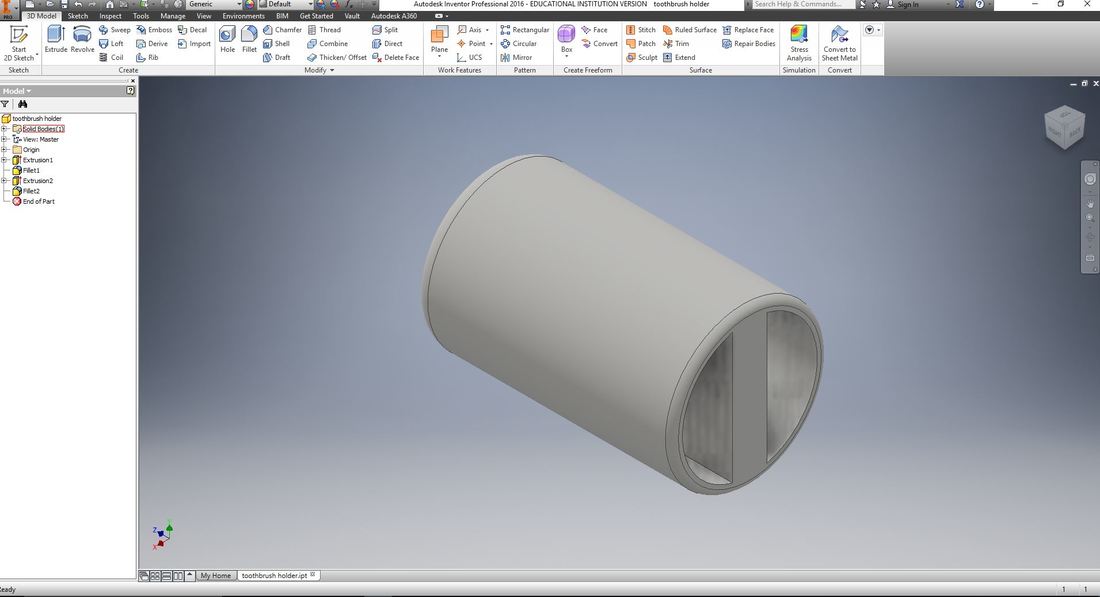
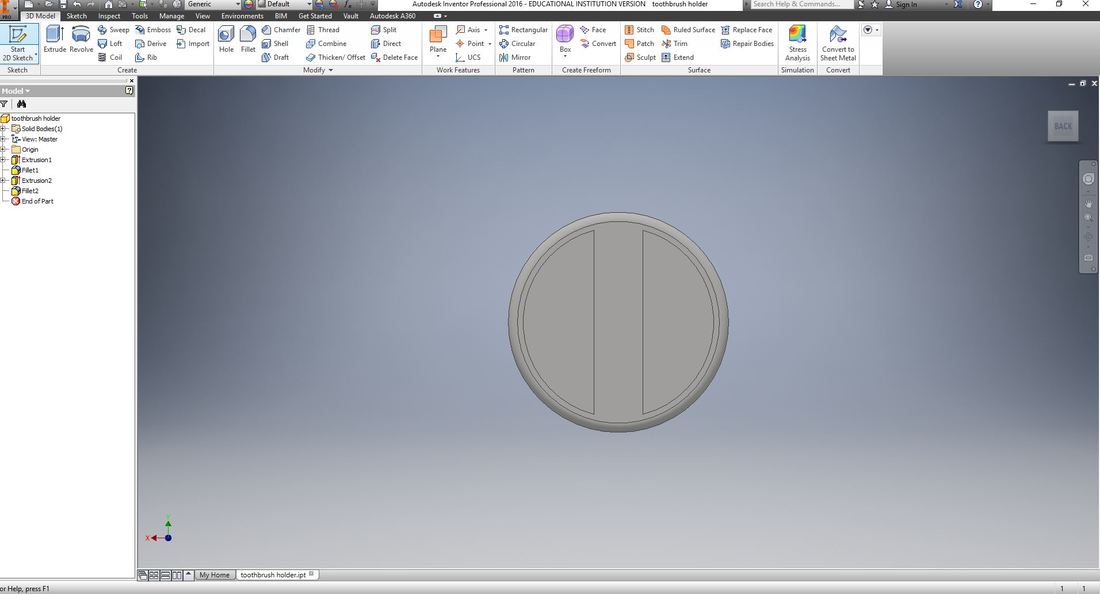
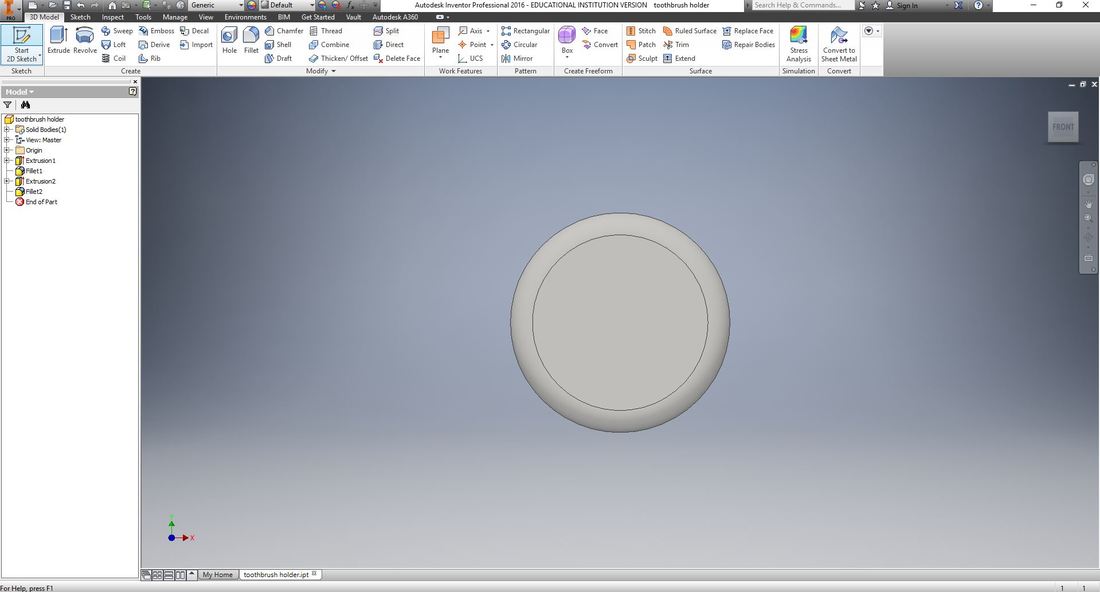
To begin, you will need to write out or draw your idea of what type of toothbrush holder you would like to create. Once you are done writing down your thoughts or creating your sketches, open up inventor. In my case, I created a cylinder-like object with filleted edges by extruding a circle. To get the rounded/filleted edges I used the fillet tool. From there I decided that I would extrude 2 half moon shapes into my cylinder. I did so by starting a sketch on the top of my cylinder, creating the half moon shapes, and using the extrude-cut tool to add depth the the half-moon cut outs. That was the end of the designing process.
From there I opened maker bot-desktop, and I converted inches to millimeters. Once I was on the metric system, I rotated my object to print most efficiently and effectively. Then I double checked that the settings where all good. Personally, I had to change my extruder type to Smart Extruder +, so I would be careful of that setting. Finally, I exported the Maker Bot file onto my flash drive.
To print, I simply made sure that the 3-D printer had enough filament, plugged in my flash drive, selected the file, and hit print. The print will most likely take all day, so once you are ready to pick it up, go look in the boxes next to the 3-D printers where it will be waiting.
|
|
the result...

in conclusion...
Although this project wasn't nearly as difficult as the laser project, or even the vinyl project, it was definitely the most fascinating and fun. I say this because seeing a design come to life as it does on the 3-D printer is just crazy. Also, coming into this class the big word on the street was that we would get to use the 3-D printer. Not to shun the laser engraver, vinyl cutter, or Mrs. Proctor, but the 3-D printer was the main reason I signed up for this class. With that said, I do think that I still have a lot to learn on the laser. Some of the things that people have created in our lab with the 3-D printer are amazing. Something as simple as a toothbrush holder fascinates me, I can't wait to continue to learn about the 3-D printer and the endless things it can do.
