
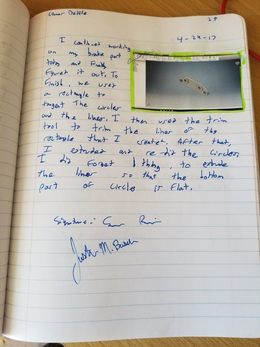
Introduction/planning
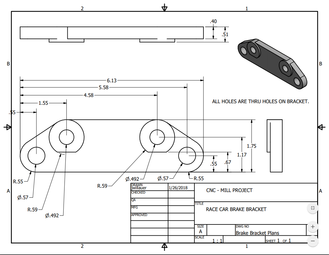
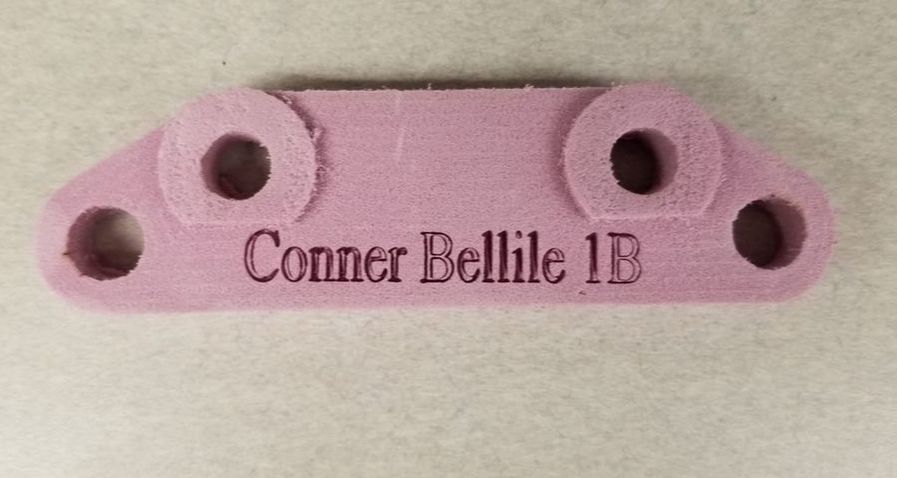
Initially, without knowing the background of the project, I though we were making an actual brake pad/part. Soon I learned that project was creating a brake part, but the catch was that the brake part was made out of foam. From there, we received dimensions for designing the brake part on inventor which looked like a daunting task considering some of the shapes and angles within the part. This is where the planning/brain storming phase took action. To complete the brake part we would need to use tangents and circles as tools to simulate the weird angles and curves within the part. Also, many holes and elevated edges needed to be accounted for in the planning stage of the brake part.
|
|
|
|
HOw to create "The brake part"
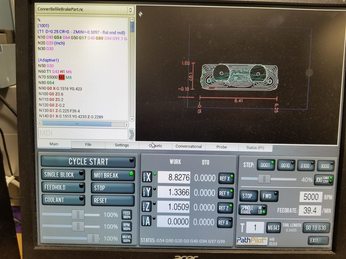
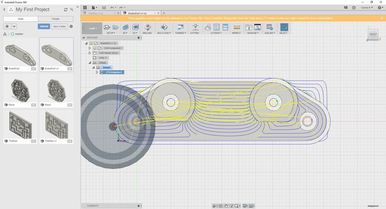
To begin, open inventor and create a sketch with a rectangle and 4 circles placed near each corner of the rectangle. Place dimensions accordingly, and use the tangent tool to create the outline of the brake part. I would also recommend using the cut tool to delete the excess lines left behind by the initial rectangle. Extrude, and continue by creating another sketch to create the elevated edges and holes. Once you are finished designing your brake part in inventor, import the inventor file into fusion 360, change the units to inches, create new set up, and follow these instructions to precisely set up your brake part for the mill. Export your file to your flash drive, and head toward the innovation center. Once at the CNC mill, find a piece of foam that is bigger than 7 x 2inches. Place a piece of double sided tape in the middle of the CNC Mill brake part template (in the CNC Mill), and put your foam on the tape making sure that the bottom left corner of the foam aligns with the bottom left corner of the template. Open your G-Code in the CNC Mill Program, and use the joystick to perfectly align the mill bit to the bottom left corner of the foam. Once the bit just barely touches the foam, zero the X, Y, and Z axis, and press reset in the program. Begin the milling, but keep your fingers close to the space bar in case of emergency or crash. *Note use an X-acto knife if the router doesn't cut all the way through your foam.
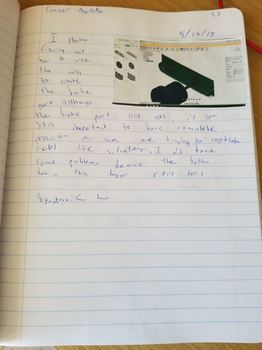
Saucy Screenshots

|

|
|
|
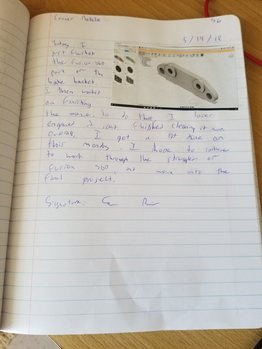
All in all...
Unlike the CNC router project, the CNC Mill project went smooth like butter. Not only was I able to finish the design with ease, but I didn't have very much trouble with fusion 360 because of my past experience using the program. But, I did learn a lot about Inventor considering the fact that there was no shape for 'brake part' in inventor. You sort of had to get creative with the design in order to correctly design the part. Also, I learned that there is a big difference between the router and the mill even though they both use drill bits. Overall, the CNC Mill project was a success, and I look forward to using the CNC Mill in the future.
