
Introduction/planning
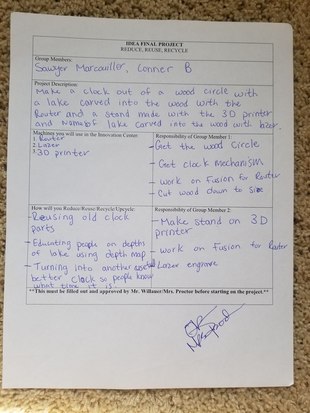
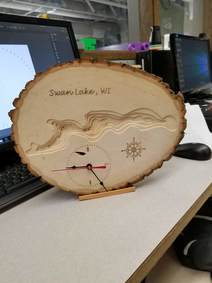
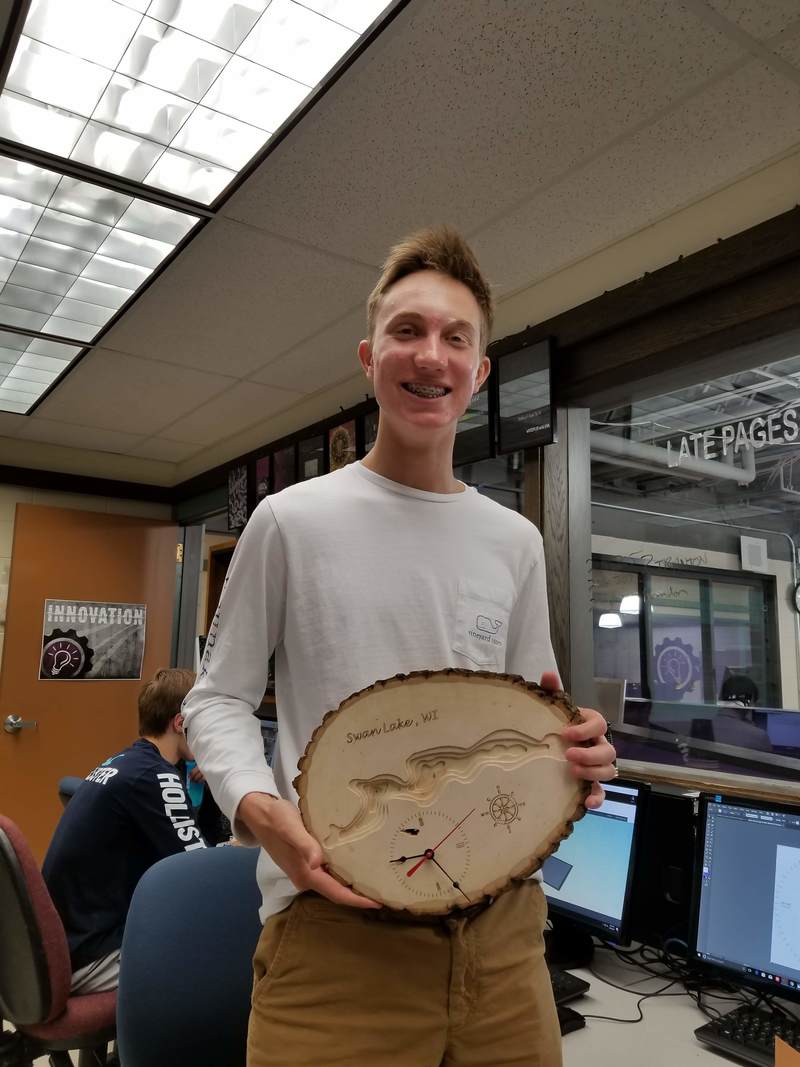
The planning process for the cookie clock was straight forward and simple. The idea originated from someone who attempted to make a table out of a large tree cookie last year. Almost the whole semester we thought this was an innovative, environment friendly idea that had the potential of turning out good. Unfortunately, that student didn't have success with the project. In memory of that student, Sawyer and I decided to take it a step further to engineer and come up with an object that would 1, incorporate the tree cookie, and 2, function so that it could be used on a daily basis. The clock idea fit perfectly. Originally, just the idea of creating a clock satisfied us, but not the project requirements. To take this idea a step further, we decided that we would route a depth chart of a lake into the cookie, laser engrave the name of the lake, a compass, and clock numbers into the cookie, and create a stand for the clock using a 3-D printer. Although a difficult task, we were thrilled to see the clock come together.
|

|
How to create "the Cookie clock"
Using the router...
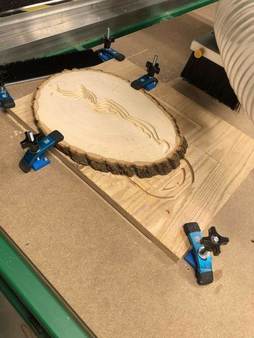
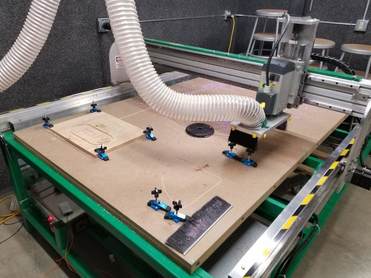
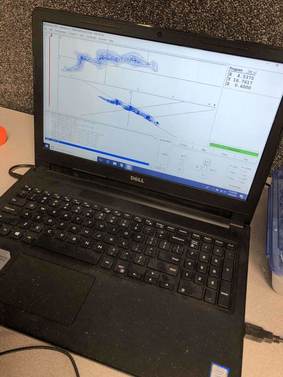
After you find a dead tree and cut the tree cookie out you will begin the design process. To begin, find the vector depth chart of the intended lake, and use illustrator to edit the image so that you have 4-5 distinct depths. Once done with illustrator, transfer your file onto fusion 360. Use fusion 360 to create the tool path, select the tool, and export the G-Code onto your flash drive (for the specifics click here). Now, make your way to the router and upload your G-Code onto the router program. Setup the router with your tree cookie, and begin to route.
|
|
Using the 3D Printer...
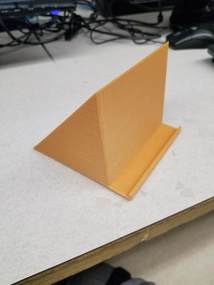
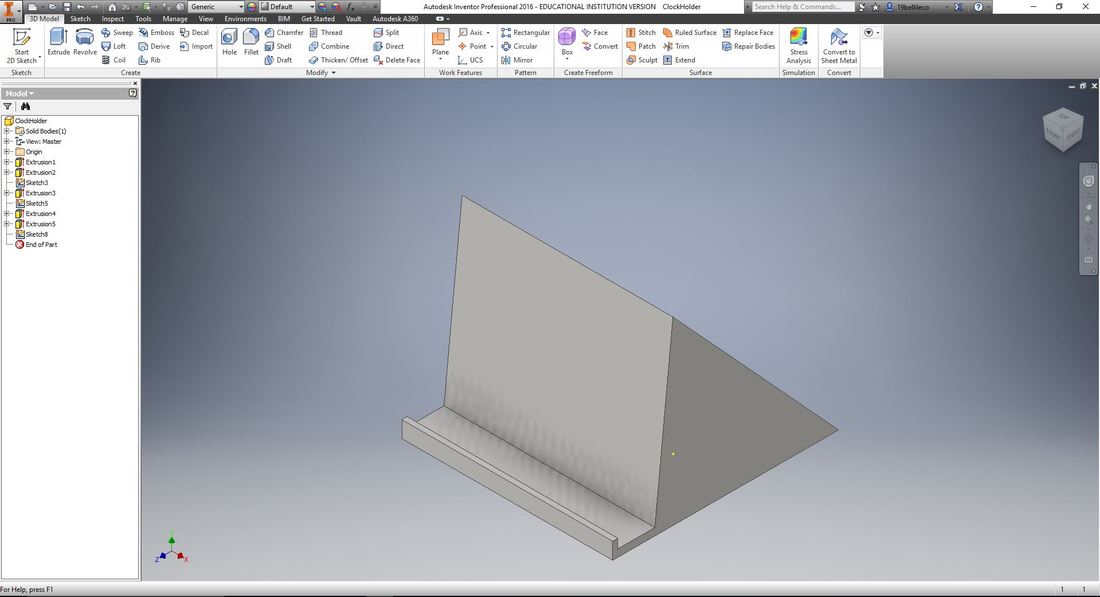
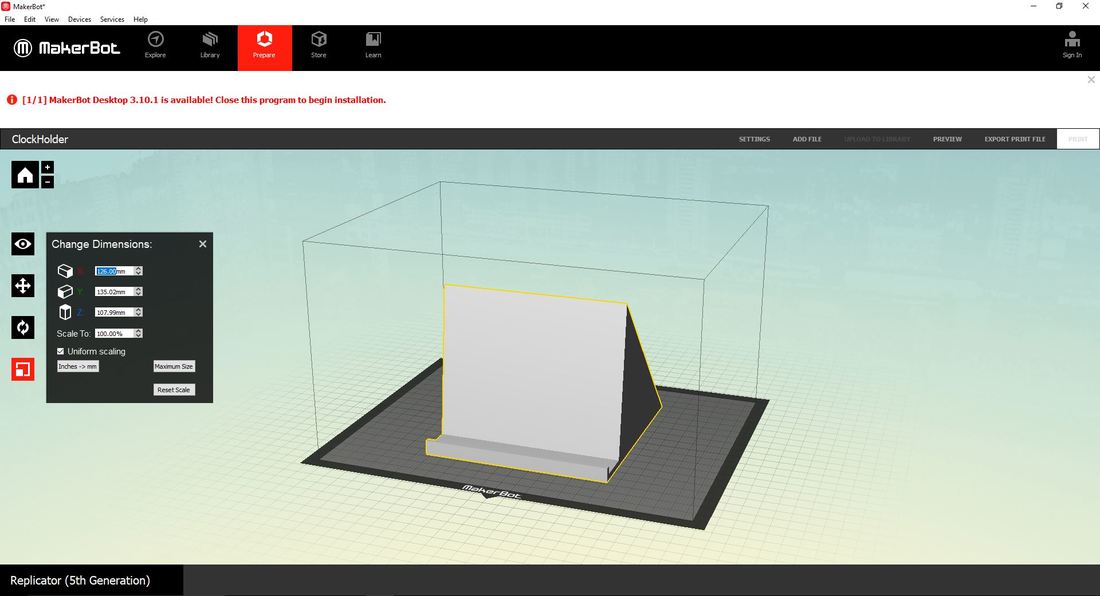
The 3-D printer will be used to design the clock holder/stand. To do so, use inventor and begin by creating a sturdy, rectangular base that to support the somewhat heavy clock. Once you have an extruded rectangle, use the cut tool to angle the rectangle so that the front face is slanted. Extrude a small part of the front face out and up so the clock sits firmly. Once your design is finished in inventor, upload the file onto the makerbot software. Convert from mm to inches and orientate your object. Finalize the settings and export the file onto your flash drive. Head to the 3D printer, insert your flash drive, select your file, and begin printing.
Using the laser printer...
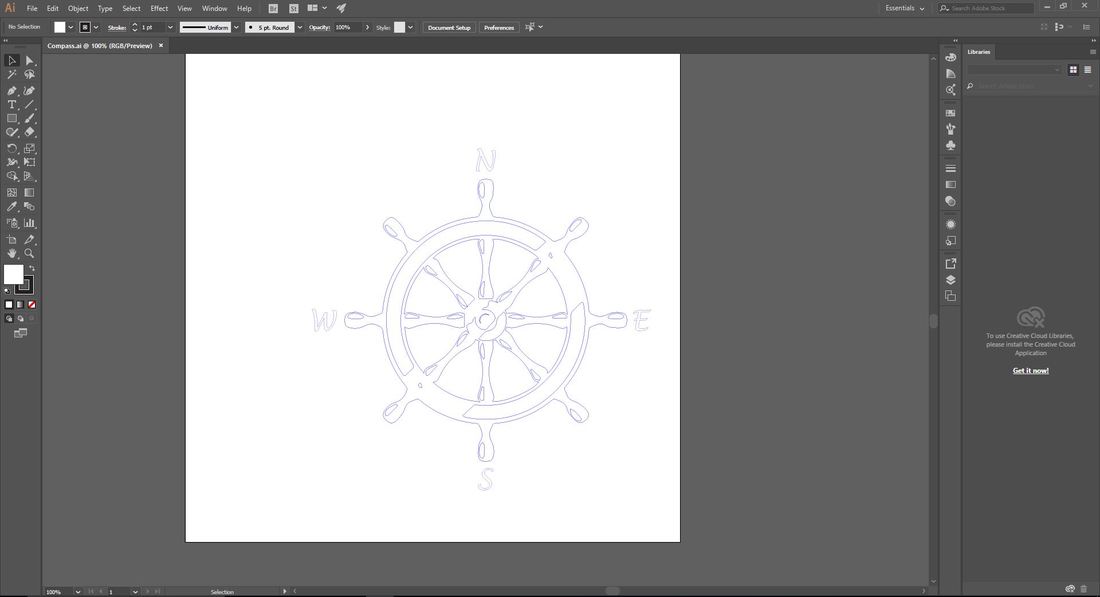
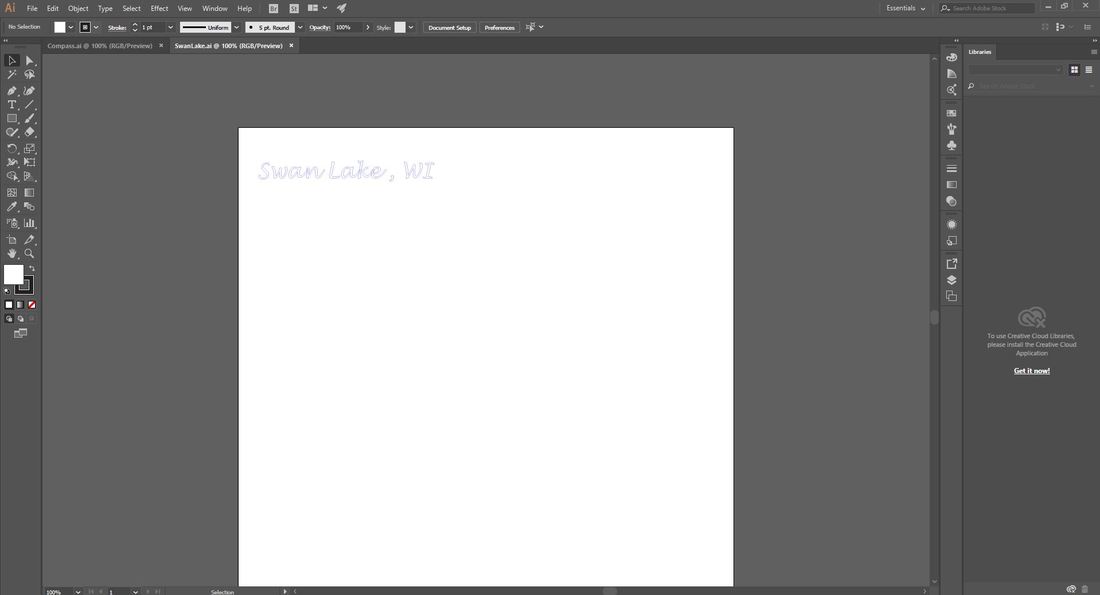
Use illustrator to edit and adjust the selected images. To do so, find and paste the images into illustrator, create outlines, take off fill color, and change the outline color to RGB blue as we will only be engraving. If you would like to add text, use the text tool to create the text, create outlines, then change to outline color to RGB blue without fill. Ideally, you should create swan lake lettering, a compass, and the numbers for the clock. Once all your files are saved, go to the laser engraver. Pull up your files on illustrator, and go to print-setup-preferences. Change the material to maple (in our case), and change the thickness to however thick your cookie is. Press apply-ok-print-print. Open the UCP software and align the design you are looking to add to your laser. Press the big green play button.
Adding the clock mechanism...
To add the clock mechanism, drill a hole in the desired spot on your cookie. Use a saw and sand paper to cut a hole for the clock mechanism on the back of the cookie.
|
|
Soupy Screenshots
|
|
In conclusion...
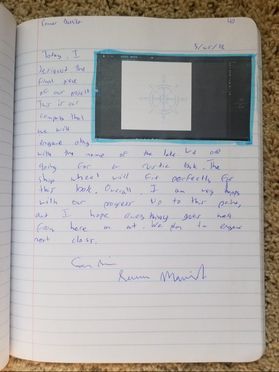
All in all, this project was a major success. I am proud of this project considering how well it turned out despite the time constraint. I feel that we had little issues carrying out this project because of our experience and knowledge with some of the programs we learned this year in IDEA. Things like using inventor and illustrator seemed like a breeze compared to the start of the year. Looking back, it amazes me that we created such a detailed, complicated object using the resources we had in school. I think that this project gives us a cool and unique opportunity that allows us to apply what we have learned from class. The only thing that I would have changed about this project would be the way that I designed the clock holder. The design I had was very material costly, and not very pretty to the eye. There are many other good designs that I had the opportunity to take advantage of but didn't. Fortunately the project turned out great and I couldn't be happier!
