
Introduction/planning
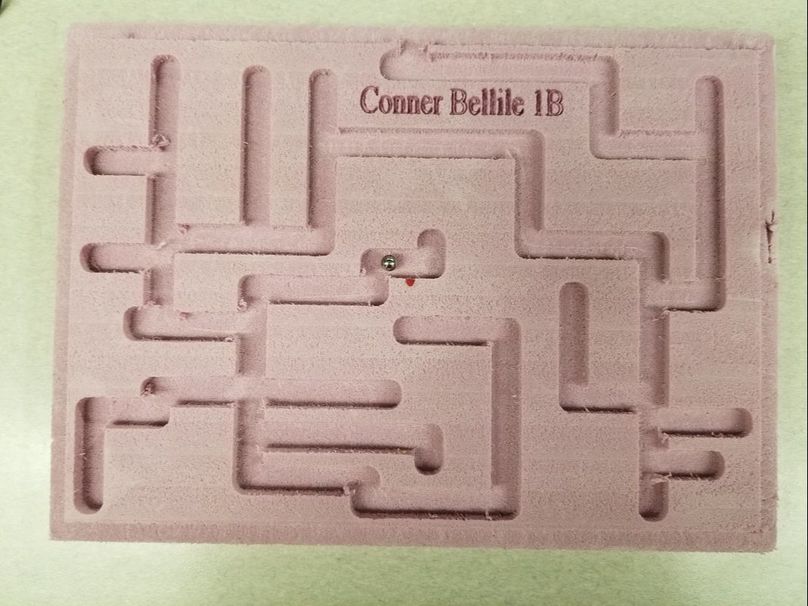
To begin, although the CNC router project was a guided project in that we all had to follow the same guidelines, by no means did that take the creativity out of the design of the maze itself. Originally, I had designed an octagonal shaped maze that was extremely creative and extravagant. I spent many class periods on this design knowing that I was all in with it. Unfortunately, once I got the finalization part of the design process (fusion 360) I was notified that my dimensions were too big. When life gives you lemons, you have to make some delicious lemonade, so it was back to the drawing board. My second draft in inventor was a bit simpler, but was actually correct this time. Basically, I scrapped my last design, and made a smaller maze that fit the requirements. The rest is history.
|
|
How to make "the maze"
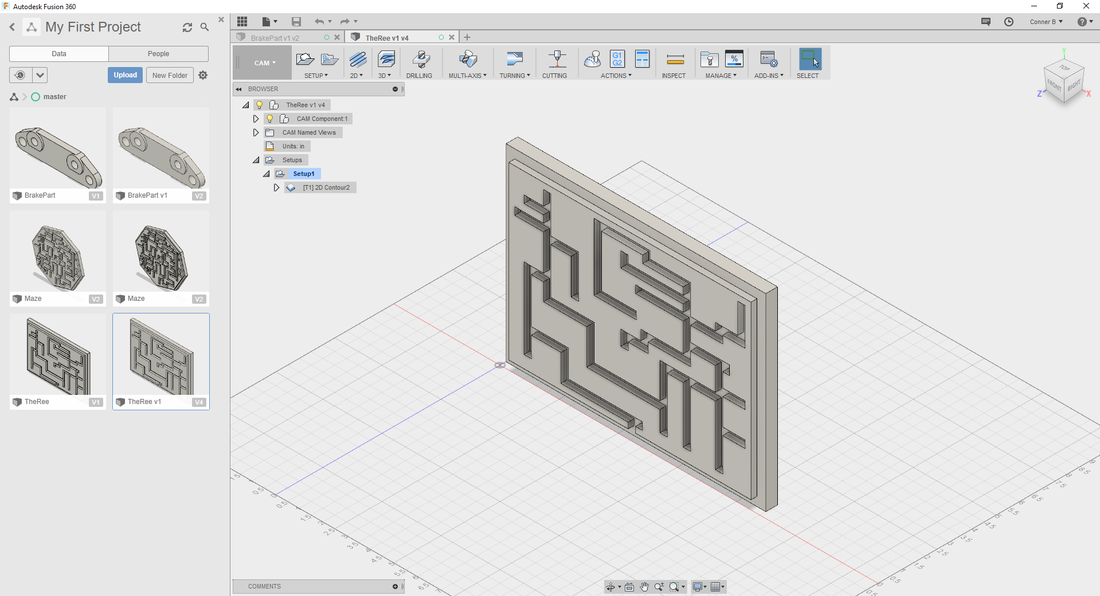
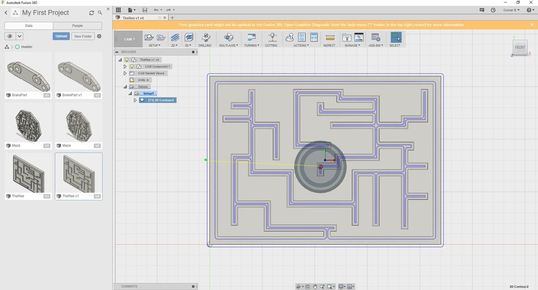
To start, you will want to design your maze in inventor. I strongly recommend that you read, comprehend, and re-read the requirements for the maze design which are no bigger than 8.5 x 11inches, 3/8 inch boarder around the maze, 5/16 inch wide by 1/4 inch deep channels for the ball, and the foam will be 3/4 inch thick. Once your maze is designed you begin the fusion 360 part of the project. You will need to import your file into fusion 360, change units to inches, create and new setup, and select contours to create the tool path that the bit will run on. Also, you will need to create a flat end mill bit with a diameter of 0.25in and a body length of 2 inches. For more specific information about setting your maze up in fusion 360 I recommend checking out this instruction guide. Once you have your maze design ready to go on your flash drive, proceed to the innovation center. Once you are at the CNC router, import the g-code onto the computer, place double sided tape on your selected piece of foam, mark the center of the foam, place the foam flush with the edge of the router, and center the X, Y, and Z axis on the CNC router using the computer program. Finally, start the router, and make sure your hand is always near the space bar in case of emergency or crash.
Spicy Screenshots

|
|
Summer-E
This project was very interesting for me because I learned a lot about the precision and intricacies of the design process. Actually creating the maze only took about 10 minutes, but designing the maze took multiple class periods. Again, I was placed in the situation of not knowing how to use the program (specifically fusion 360) multiple times. It always helps to ask, but with such a complicated program like fusion 360 I would recommend reading up on it or searching for video tutorials on how to use the program. Overall, I thought the final result was amazing considering the fact that we went from the drawing board to a precisely cut maze. It amazes me how thin some of the walls are on the maze, and how the drill bit was able to cut the maze with such ease. Overall, I am satisfied with the end result even though the process was a little rocky.
