Ideas

The notebook
|
|
Thoughts and Step-by-step
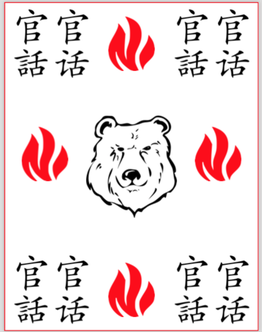
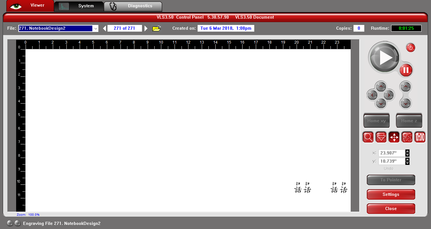
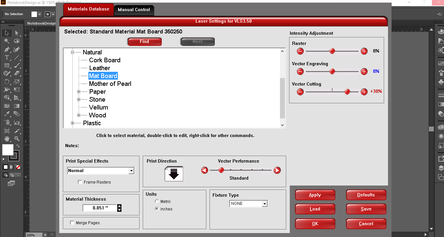
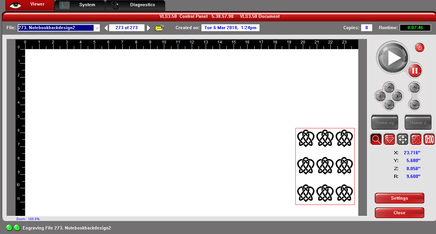
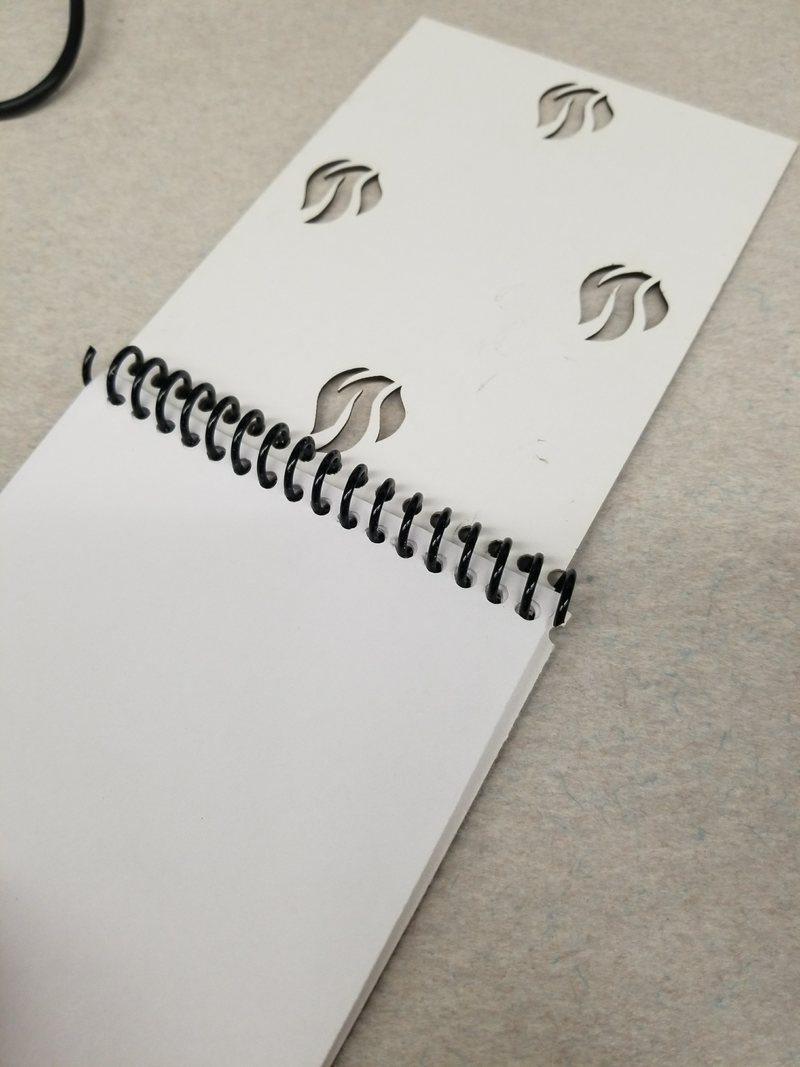
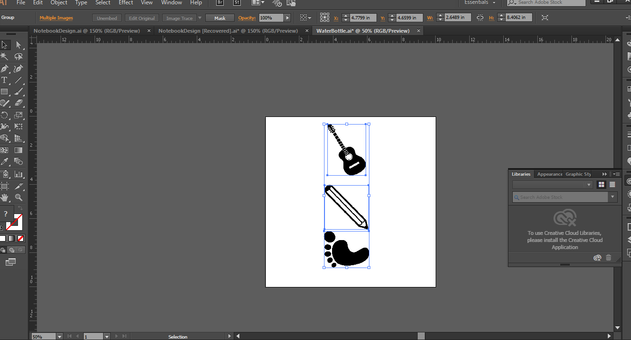
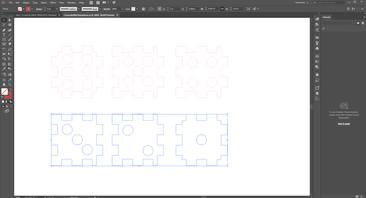
Overall, the notebook gave me a lot of trouble. Nothing against the notebook assignment, but I spent about 2 classes worth of time engraving and re-engraving my notebook design because I couldn't get it to cut out. The problem I ran into was due to a program issue that was over my head. But that's besides the point, to design and create a notebook you must find vector images to properly use the laser engraver. Once you have your images, paste them into an illustrator document and arrange them into a suitable position. You will need to image trace all of your images as the laser printing software will not allow you to print if not done. From there, create an outline using the rectangle tool and turn off fill. Repeat these steps for the back side design of your notebook.
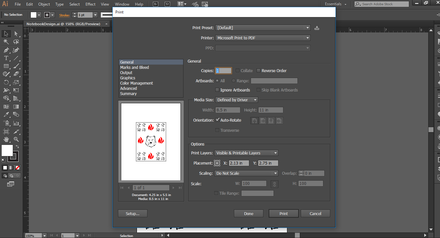
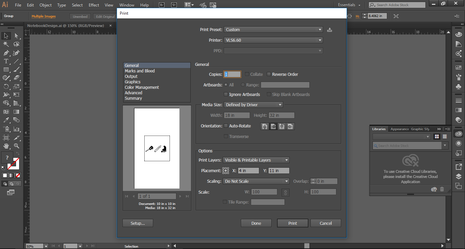
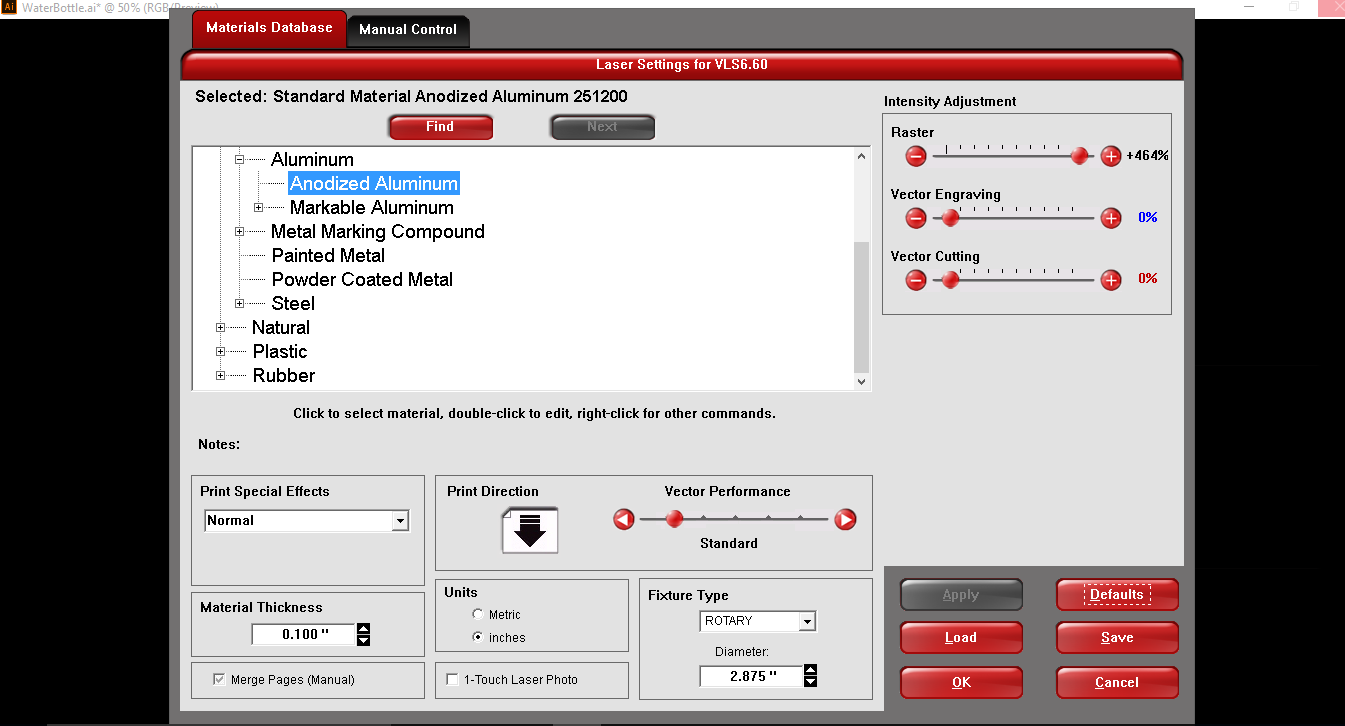
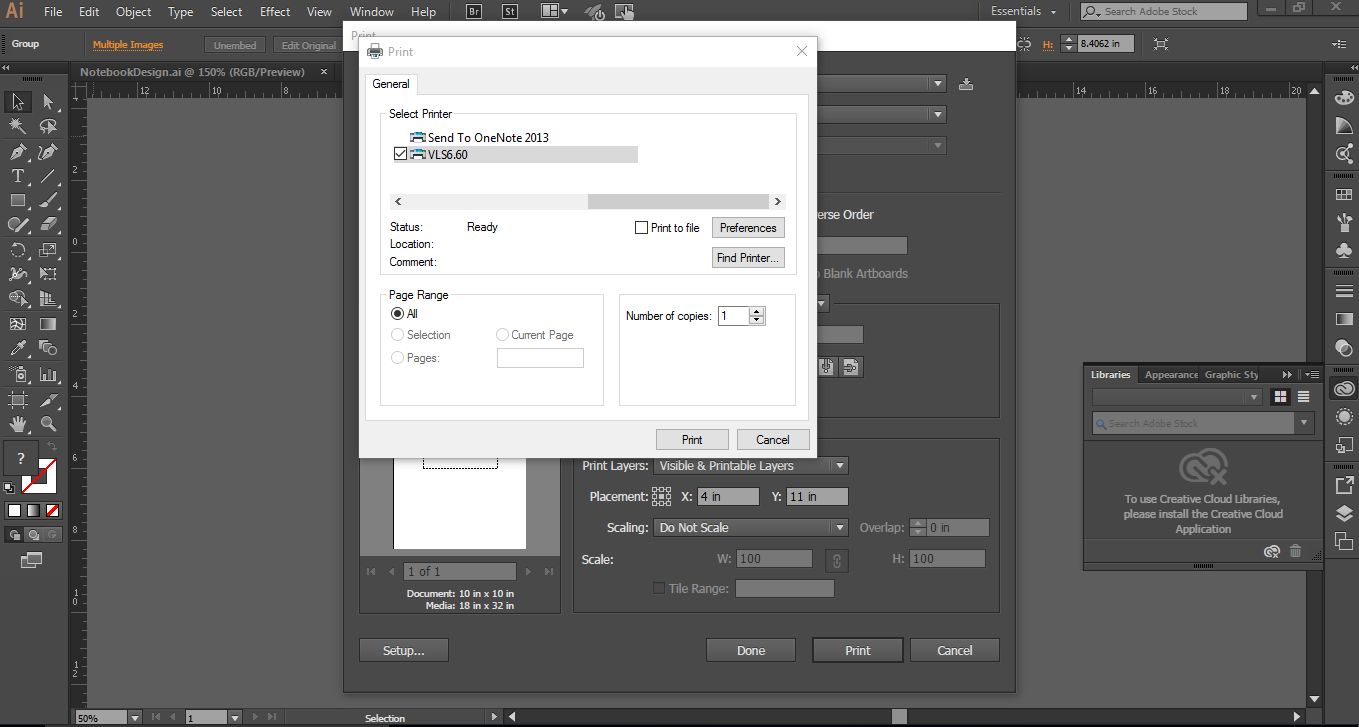
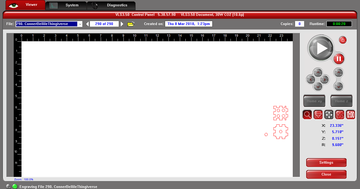
Now it's time for the laser engraver. Open your file on illustrator of the laser engraving laptop, and click print. Make sure the laser engraver is the printer being used and proceed to the setup window. You will want to type in the thickness of your mat board and make sure mat board is selected as a material. Hit apply, print, and open up the UCP software. Position your image after turning on laser engraver and placing mat board. Hit the green play button. Wah Lah...
Now it's time for the laser engraver. Open your file on illustrator of the laser engraving laptop, and click print. Make sure the laser engraver is the printer being used and proceed to the setup window. You will want to type in the thickness of your mat board and make sure mat board is selected as a material. Hit apply, print, and open up the UCP software. Position your image after turning on laser engraver and placing mat board. Hit the green play button. Wah Lah...
|
|

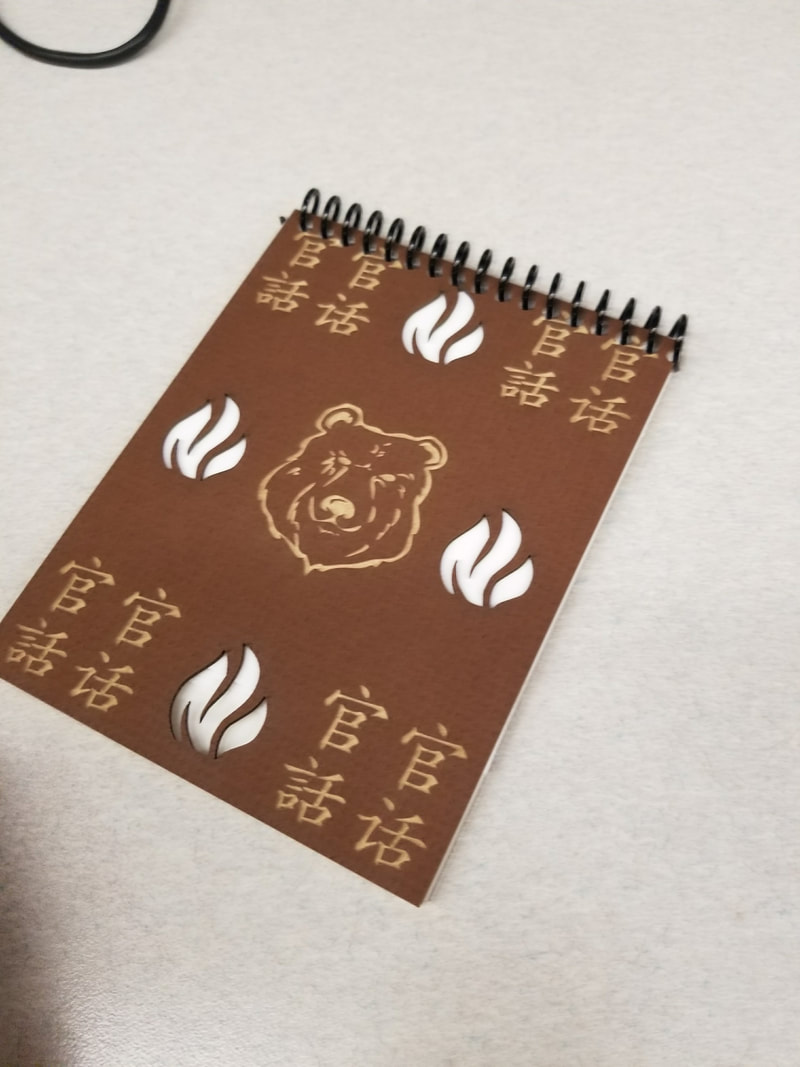
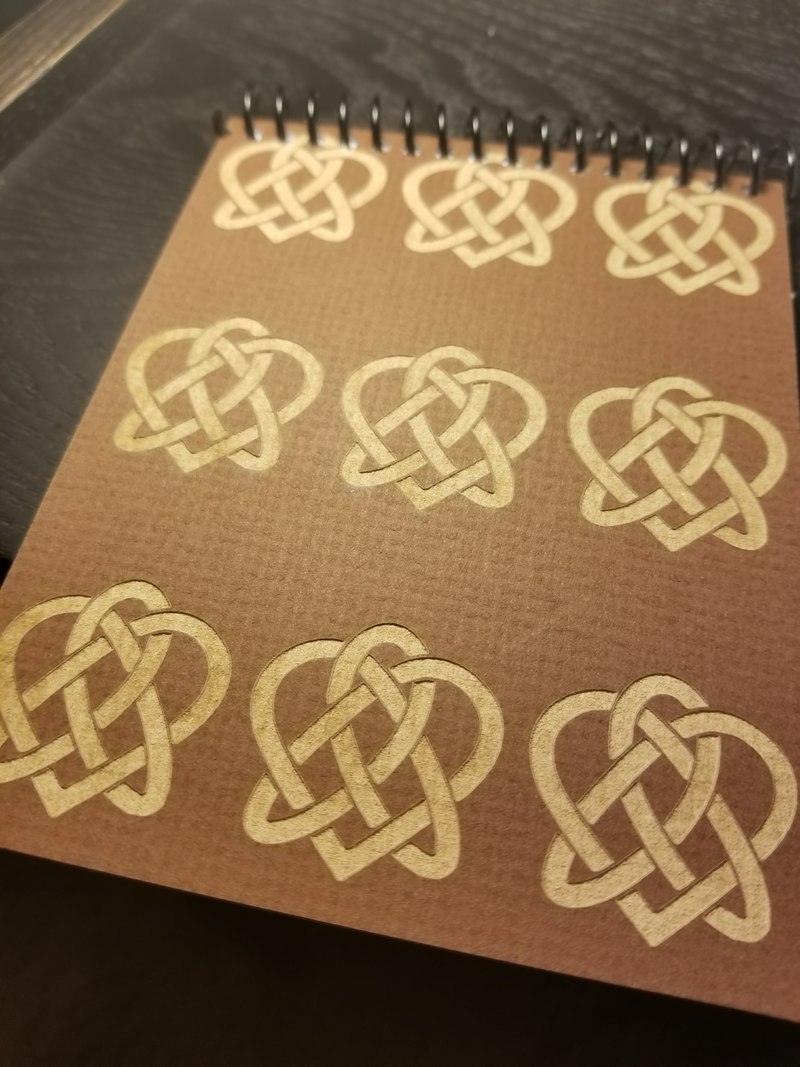
The final result
|
|
|
THE WATER BOTTLe
Thoughts and step-by-step
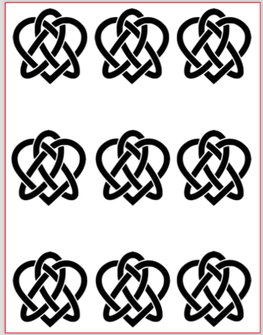
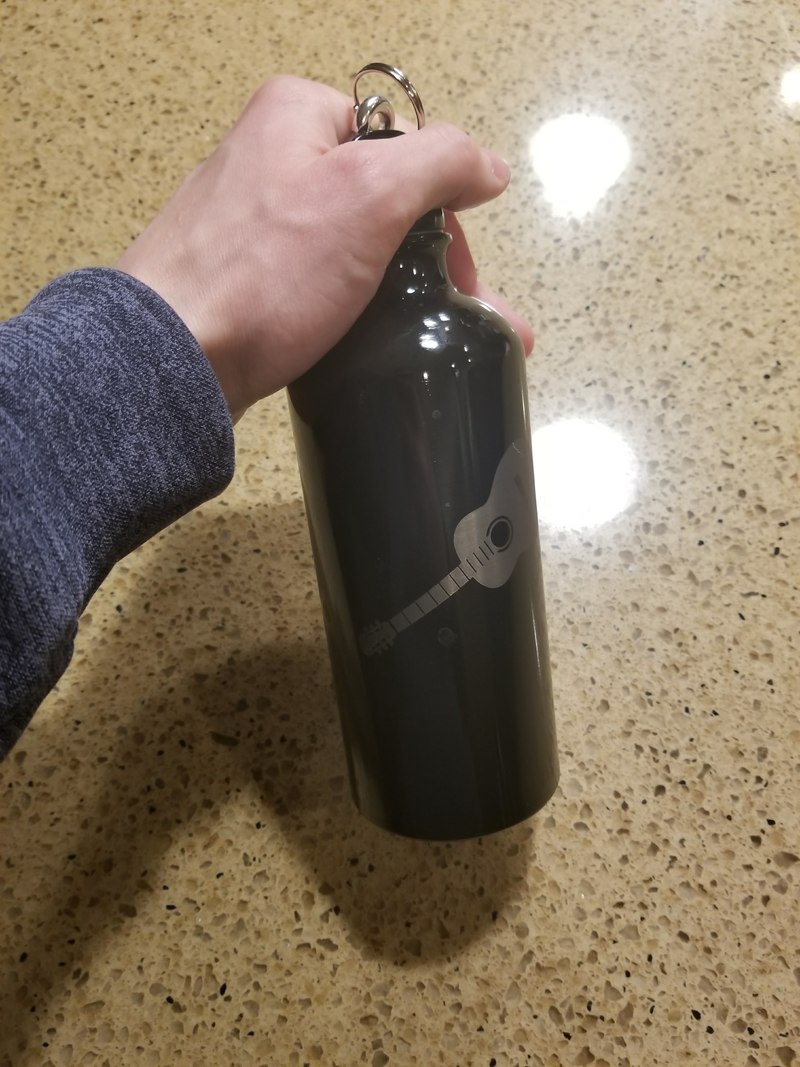
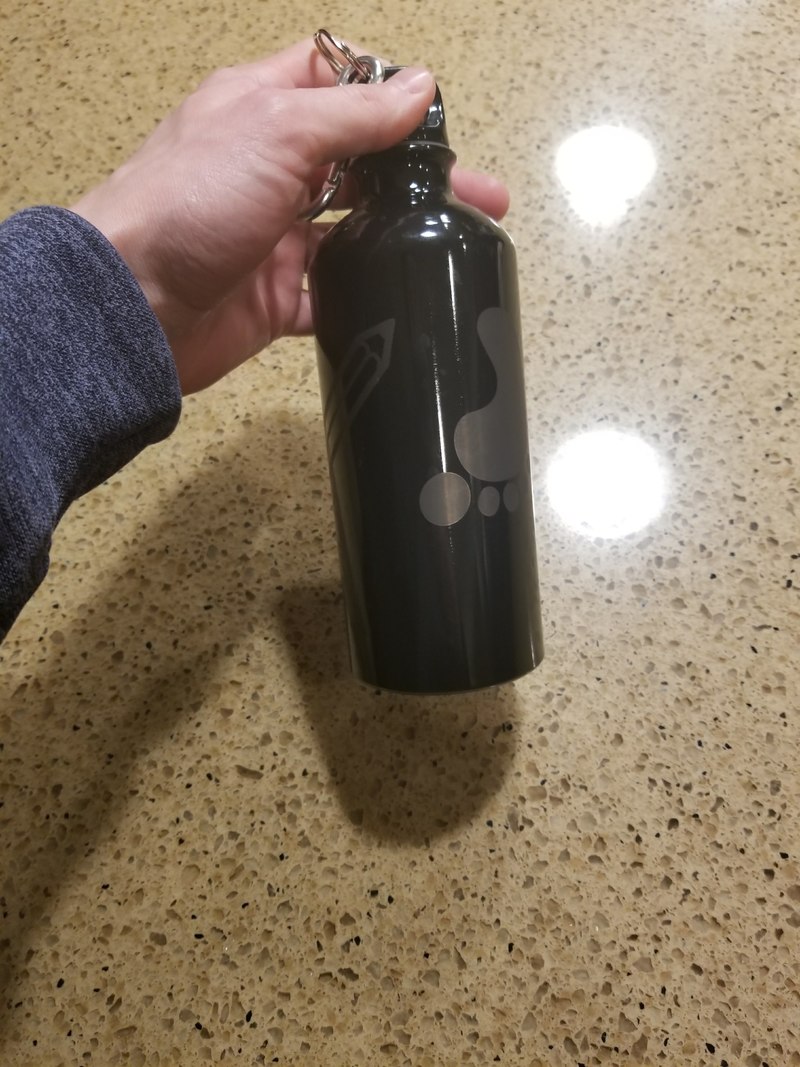
Initially, I thought that the rotary (A.K.A. water bottle) project was going to be the most difficult. After completing this project I learned that, in terms of physical labor, this was the hardest but, overall, this project took little time and effort. To design the engravings on the water bottle I used illustrator. Again I pasted the 3 vector images in and arranged them as I pleased. From there, I image traced all 3 images and grouped them. Then I made the length 8.5 (calculated wrap value) and rotated the images 90 degrees.
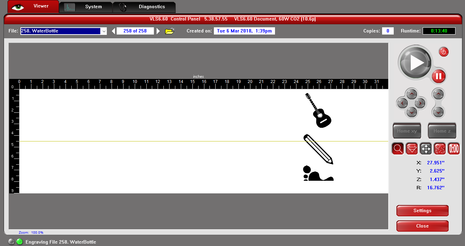
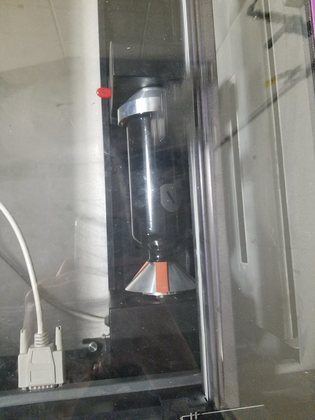
Then I was ready to print. Just like the notebook I opened illustrator on the laser engraver laptop and applied all of the correct settings prior to opening the UCP software. Once in the UCP software I began to prepare the laser engraver. To do so, I removed the honeycomb tray and replaced it with the rotary tool. After plugging in the rotary tool I positioned my design and began printing.
Then I was ready to print. Just like the notebook I opened illustrator on the laser engraver laptop and applied all of the correct settings prior to opening the UCP software. Once in the UCP software I began to prepare the laser engraver. To do so, I removed the honeycomb tray and replaced it with the rotary tool. After plugging in the rotary tool I positioned my design and began printing.
|
|
The final result
|
|
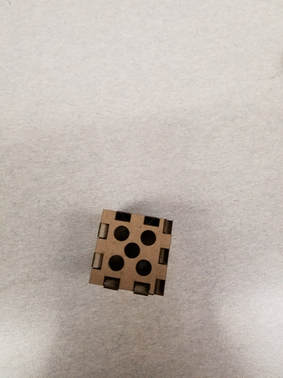
Thingiverse-Dice
Thoughts and step-by-step
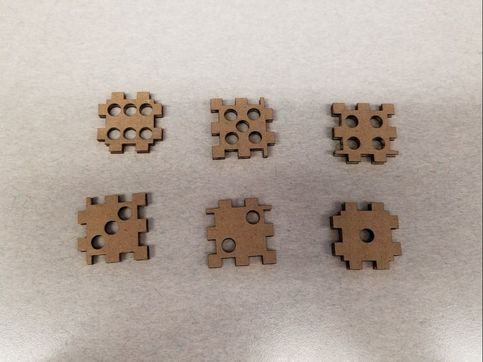
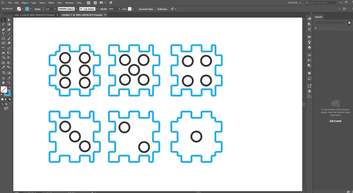
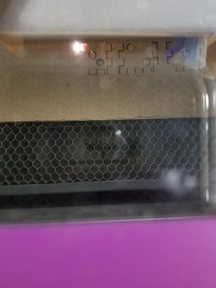
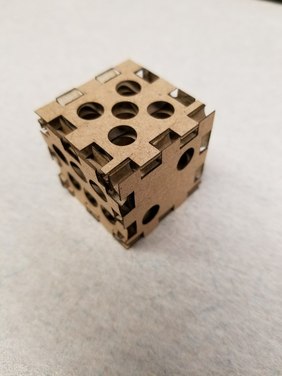
The Thingiverse project was one of the most eye opening projects I have done in IDEA. It amazes me that such a complex design can be precisely cut out to perfection using the laser engraver. The part that confirmed the precision of the laser engraver was putting together the dice as ever piece slid together and stayed together despite being made of cardboard.
To create this object I downloaded the dice Thingiverse file and opened it in illustrator. From there, I proceeded to change the lines, size, and format of the whole document. By doing so the dice was ready to be printed. Once I got to the laser engraver I opened my file in illustrator, printed after adjusting to the proper settings (making sure the material was foam core), and began printing the dice using the UCP software. To my surprise, the dice printed out very fast, and turned out amazing!
To create this object I downloaded the dice Thingiverse file and opened it in illustrator. From there, I proceeded to change the lines, size, and format of the whole document. By doing so the dice was ready to be printed. Once I got to the laser engraver I opened my file in illustrator, printed after adjusting to the proper settings (making sure the material was foam core), and began printing the dice using the UCP software. To my surprise, the dice printed out very fast, and turned out amazing!
|
|
The final result
|
|
WRap up...
Though rigorous and time consuming, I learned a lot over the course of the past several weeks when working with the laser engraving machines. I learned the basics which include: remember your handouts, always image trace, and never get frustrated. But I also learned more in-depth things such as: the hidden features of illustrator, the UCP software, and the importance of precise measurement. I feel that a lot of this knowledge will help out with things later in this class along with later in life. Also, this project was just another example of how problem solving deems important in the work place as adversity hits at any time. It's crazy how one little problem can a variety of different things (in my case a single setting change caused me to change everything but the setting). Overall, I would call this project a success, and the things that I learned from it are priceless and timeless.
